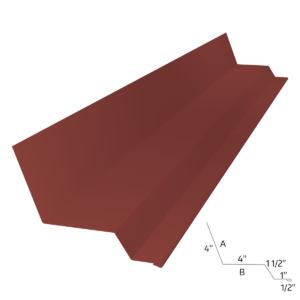
You want to have a finished, crafted look when all is said and done for your installation. There are some particular areas that need special attention to guarentee a positive result. One such area is the endwall area, should your project require endwall trim. Here’s an overview of how this trim is installed. For full info, please refer to our install guide.

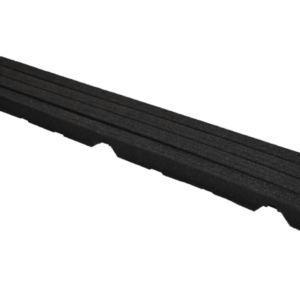
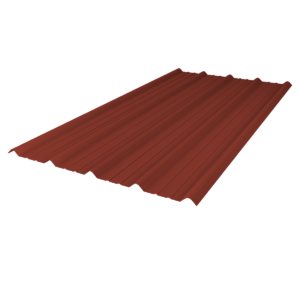
1. Install outside closures where the flat of the endwall flashing will be fastened to the roofing panels.
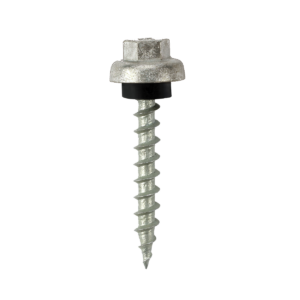
2. Attach endwall flashing to roofing panels according to most up-to-date FPA. See online at
TriCountyMetals.com/florida-product-approvals/.
3. Overlap endwall flashings a minimum of 3” if more than one endwall flashing is required. Two
endwall flashing pieces should be attached immediately above a major rib on the roofing panel and
not between ribs.
4. It is recommended that the top edge of the endwall flashing be tucked underneath the house siding
to provide maximum weather tightness.
5. A counter flashing can be added to the top edge of the endwall flashing to allow the endwall flashing
to be inserted into the adjacent wall.
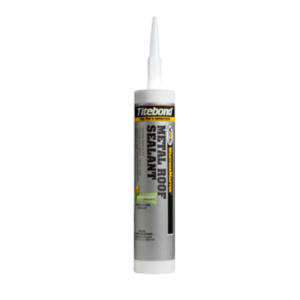
6. As a last resort when the previous two methods can not be performed, a caulk edge can be added to
the endwall flashing and then a bead of caulk can be used.
* Purlin placement should be approximately 1” from the wall.